Cupcake Nail Art Tutorial
Hey Ladies!
Happy Sunday! and also, Happy Mothers Day to all of the mothers out there! So, today is nail art day, and today's nail tutorial is dedicated to everyone who loves cupcake, especially mothers (because it's mothers day!), just like my mom! So, enough of my intro.. off to the nail art..

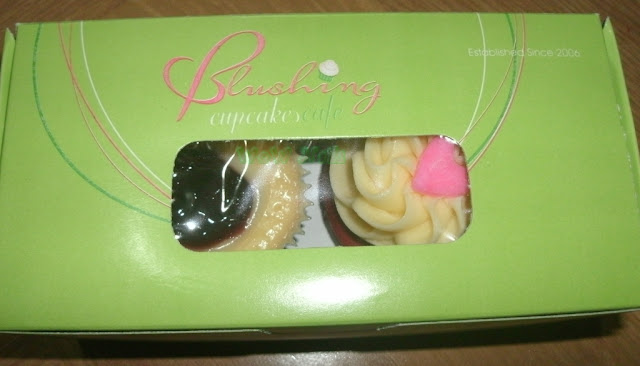
This is the particular cupcake where my nail design came from, it's the Red Velvet Cupcake. (the other one in the left side of the box is a blueberry cheesecake cupcake)


Happy Sunday! and also, Happy Mothers Day to all of the mothers out there! So, today is nail art day, and today's nail tutorial is dedicated to everyone who loves cupcake, especially mothers (because it's mothers day!), just like my mom! So, enough of my intro.. off to the nail art..
May i present to you today's Nail Art Design.. Red Velvet Cupcakes..

Before the whole tutorial, i just wanna show you gals my inspiration for today's nail design.. it's the take home cupcakes for my mom that i bought from Blushing Cupcakes at SM City North Edsa Sky Garden.

This is the particular cupcake where my nail design came from, it's the Red Velvet Cupcake. (the other one in the left side of the box is a blueberry cheesecake cupcake)

Going Back to the Nail art tutorial, here are the materials i used..

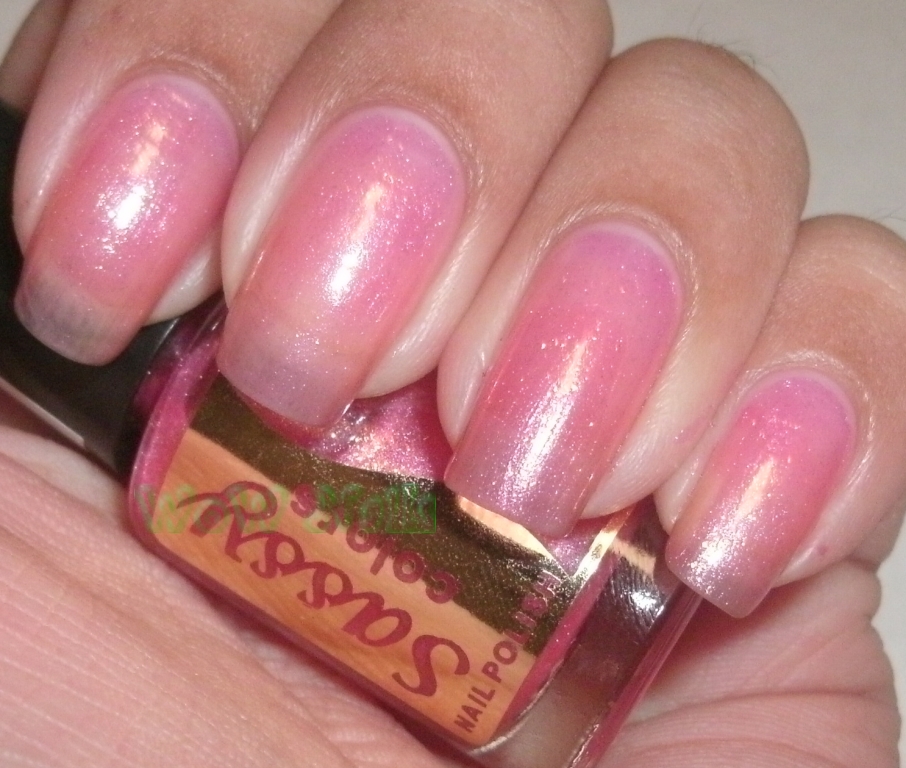
Yellow Nail Polish (Caronia Sweet Surprise), Red Nail Polish (Careline Nail Polish that doesn't have a name), Dark Pink Stripper (BK Nail Art), Coral Pink Nail Polish (Caress Flame Red), Light Yellow/ Yellow-ish White Nail Polish (caress Wintermelon), Sheer Pink Nail Polish (Sassy Colors Fancy Pink), Pink Heart Shaped Confetti, Toothpick and Dotting Tool.

Step 1: After applying your favorite base coat, apply a single coat of the sheer pink polish, (Sassy Colors Fancy Pink) i picked a sheer color because this will serve as the background of our cupcakes.
Step 2: Using the Coral Pink Nail Polish, do a simple french tip to all of the nails, this will serve as the cups of our cupcakes.

Step 3:using the Dark Pink Stripper Nail Polish, outline the free edge of the nails, and draw slanting lines over the french tips, this will make the french tip look like cups.


Step 4: Using the dotting tool and the Red Nail Polish, draw the muffin like red cake that slightly overlaps with the french tip to make it look like it's over flowing.

Step 5: Using the light Yellow Nail Polish, create the frosting that also, slightly overlaps with the red cake


Step 6: Using the Yellow Nail Polish and the toothpick, define our cupcake frosting by drawing some outlines. Finally, put one pink heart confetti on the top of the frosting.

Don't forget to apply topcoat. And that's it, our cupcake nail art is done!


And, that's it for today!
Hope you guys liked it!
What do you gals think about today's nail art? Please don't forget to tell me thru your comments, and you can also suggest a nail art design that you want me to feature.
Till Next Time!
XoXo
Paula


Wow! This is so cute. :) Nice work.
ReplyDeleteThanks Bo! :)
DeleteAww, this is so cute and tasty looking! Thanks for showing us a tutorial for this look. I love how you did the frosting.
ReplyDeleteThanks! I'm really glad that you liked it.. :)
Delete